The Ultimate Guide to Beginning Photography for Real Estate -
Want to know how much to charge? How to get started? What to do during your first shoot? What equipment to bring? This is the ultimate guide for photography for real estate.

The Ultimate Guide to Beginning Real Estate Photography
Without a doubt, the highest number of questions I receive from newer photographers are one of two things. First, “what should my settings be if I am shooting Fill in the blank…” Those answers vary wildly, but we teach this in our free beginning photography course. But one we have not covered is the second most asked question. “What do I need to know to begin a career in photography for Real Estate?” This is a great question because this is a rapidly booming market and the information is scattered everywhere. But we rarely see it covered in a consolidated guide. So, our goal is to get you ready to hit the ground running! We will also provide some of our secrets to success. The rarely told strategies to make sure you walk into your first shoot with confidence!
First, What equipment do I need?
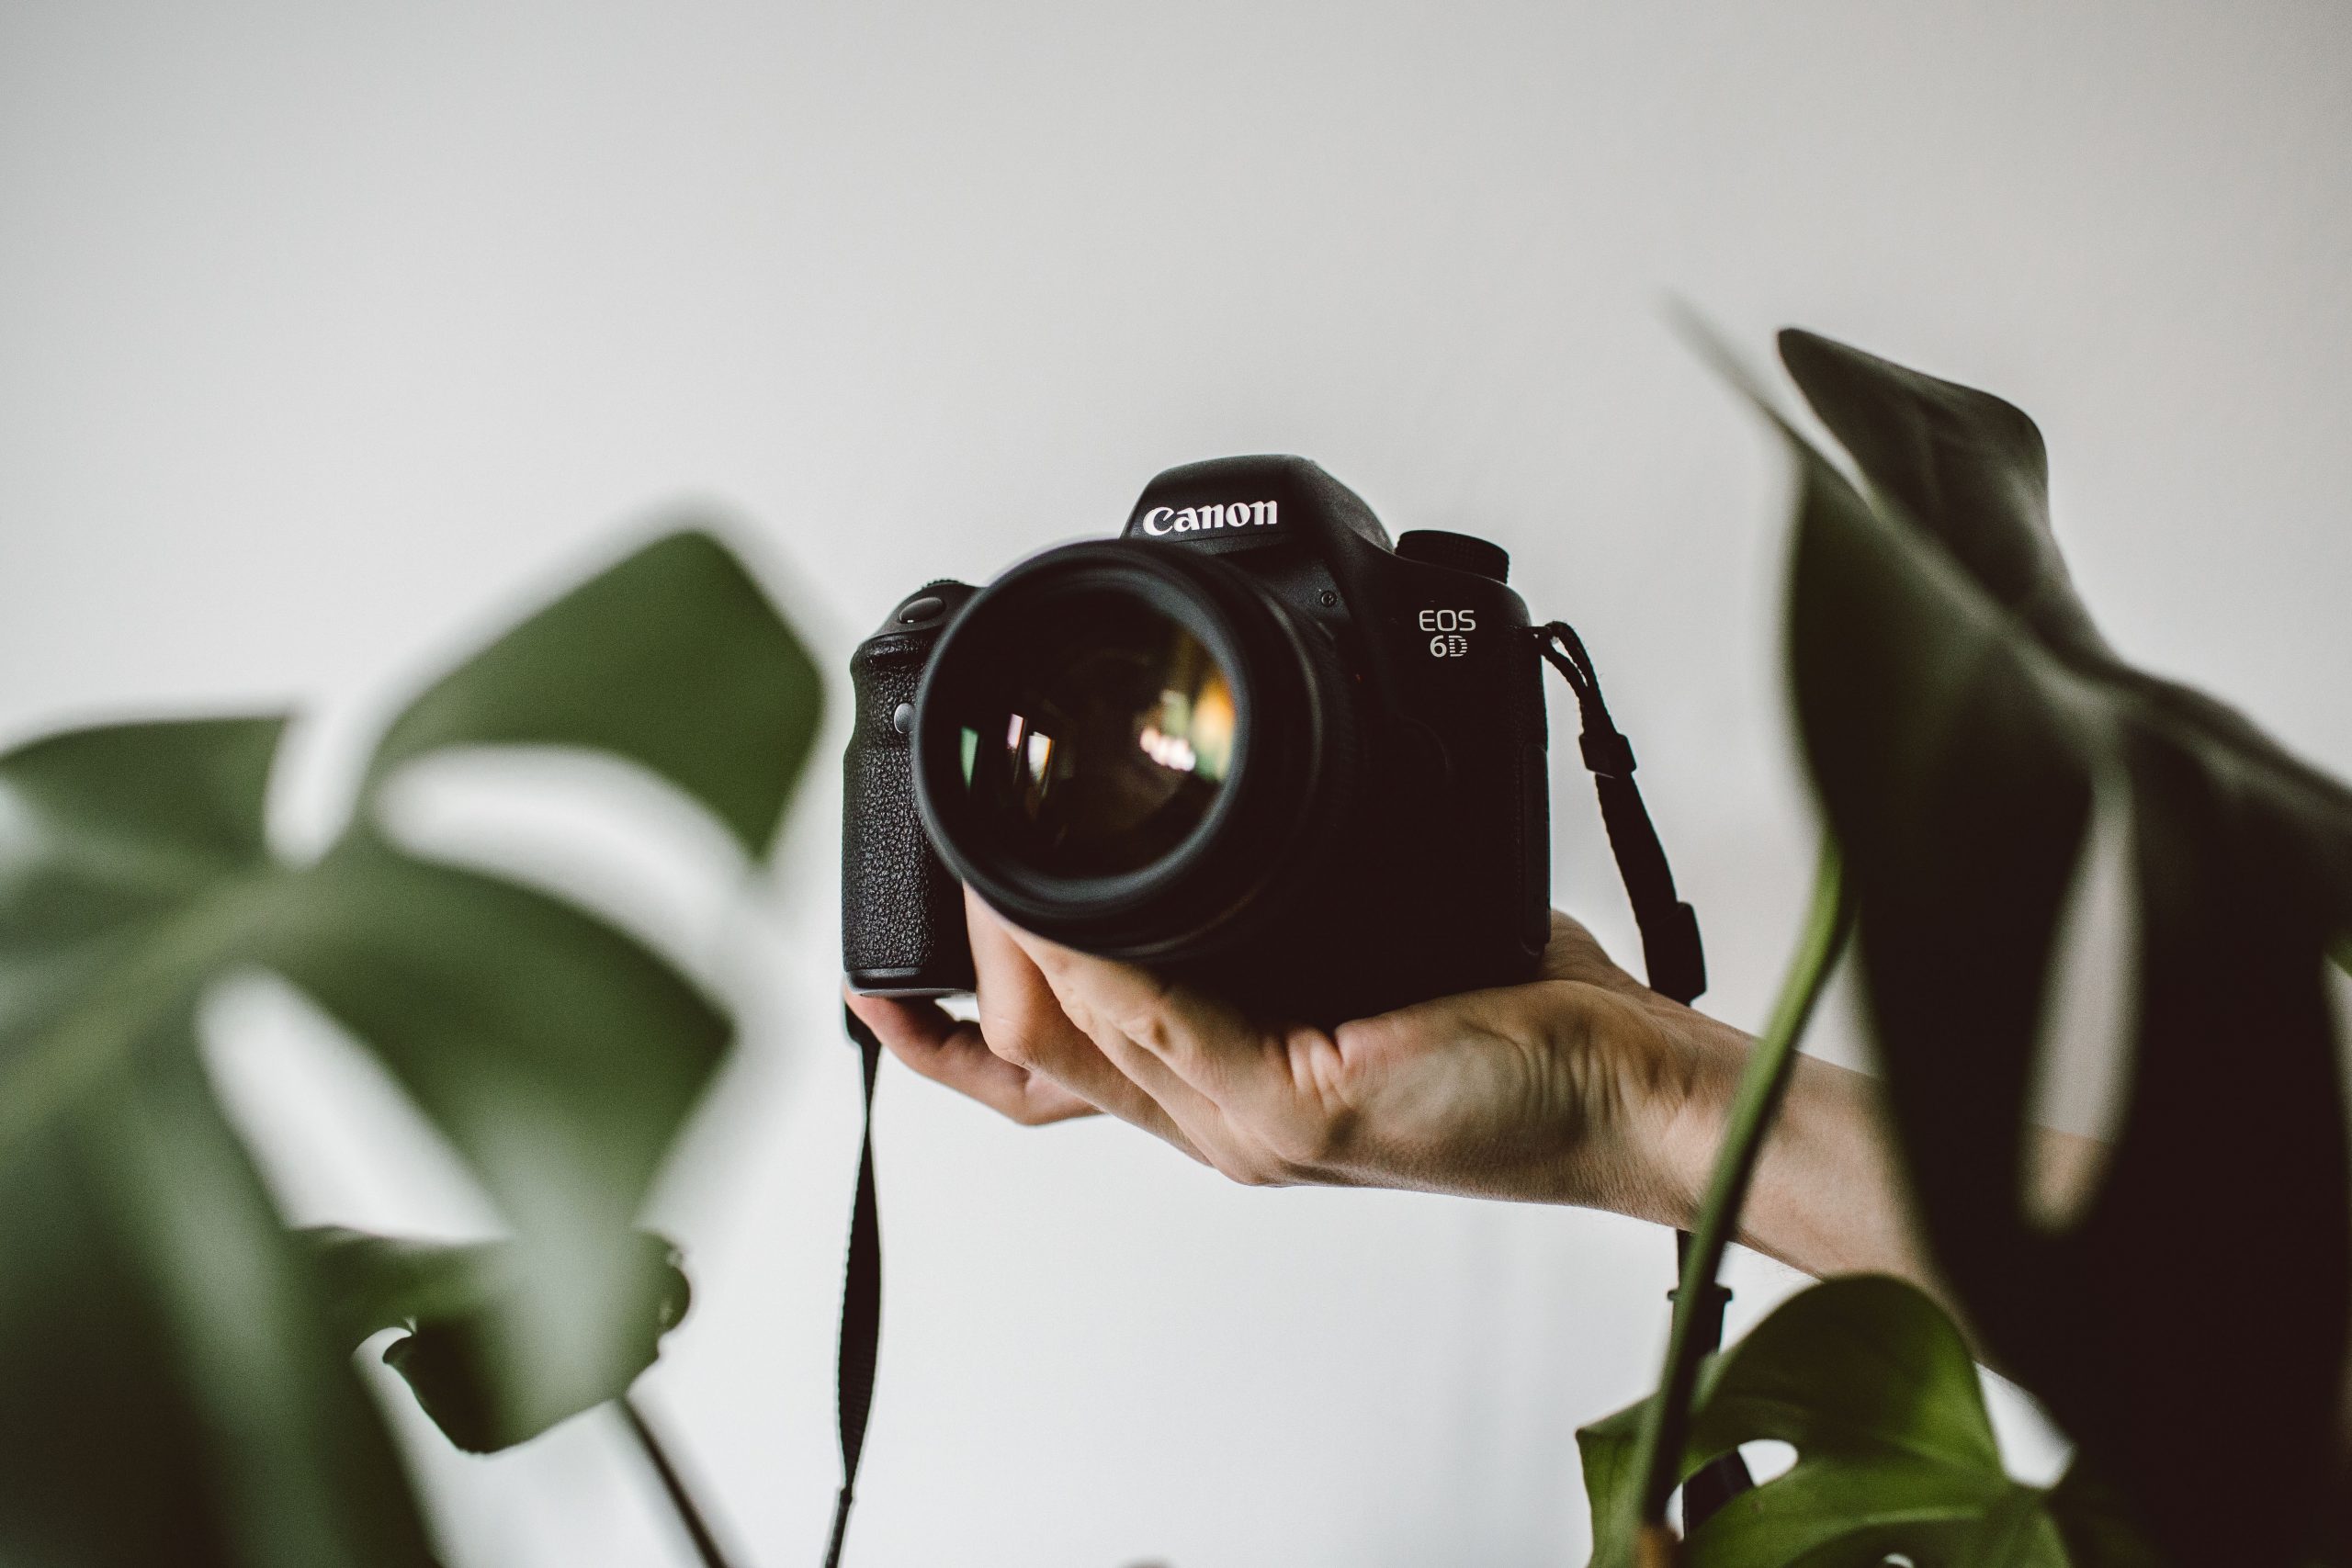
Always the first question we ask, isn’t it? What new toy do I need to go out and buy to get started? Well leave the telephoto lenses at home, photography for Real estate is all about clarity, good lighting and wide-angle shots. The great thing is many real estate agents take great pictures with their phone cameras. So the bar isn’t too high to get started. Any camera body is fully capable and DSLRs or Mirrorless cameras are both up to the task.
So since we now know that whatever camera we have is capable, what about the lens? Well we want good sharp pictures that come out crystal clear. So it’s great to have a good wide-angle lens. Plus, you can often even get away with a simple kit lens. You obviously do not want to go with a fisheye lens, but typically the wider the better. Shooting about 20-24mm is a great range for indoors and you can save that 50-70mm for your outdoor shots. So a good quality 24-70mm lens is a great option. Prime lenses work fine, but the 24-70mm adjustable lens lets you leave more at home since it really covers the full scope of what you need.
One piece of equipment that I highly recommend but is not required, is battery powered lights like these. These little lights can be easily hidden but can really brighten up a room if placed in some key spots. Not all houses have big windows, natural light, or adequate artificial lighting. So these little lights could save the day.
The last piece of equipment is one of the most vital, and that is good photo editing software. The pictures that an agent will upload could be looked at by hundreds and even thousands of people. So you want to ensure you have a program like Adobe Lightroom that can brighten, sharpen, remove something on the floor you didn’t notice, etc. Conditions will not always be perfect, so editing software can save your bacon when you get home and realize you made a mistake or used the wrong settings.
Bonus stuff to bring
I hate to say it, but drone photography for real estate is big business and many homes have features that can only be showcased via aerial shots. Using a drone for commercial use does require a license, so if you are not already credentialed, skip this and maybe keep it in your back pocket for the future.
Macro lenses can be really useful when trying to capture more artistic images to add a home-like feel to the set. However, these shots do not sell homes necessarily and should only be in addition to the must-haves mentioned later in this article. So if you don’t have one or don’t like using these lenses, no worries!
Small items for staging can really put a little color in a home that is a little bland. A vase with artificial flowers on kitchen granite can often be the difference in drab or glam. When in doubt, you can always add a few pillows, vases, etc. just in case you walk into a dreary home.

Getting Shoots
Unless you are really fortunate to have an agent friend willing to let you do a shoot or two for them, you have to build a small portfolio to at least show you are a capable photographer. You can reach out to local realtors or you can just give your own home a try. Clean it up, stage it and snap some glamour shots of your kitchen, master, master bath, and living room. Any rooms that have special features that you can showcase are a big plus! Do some great outdoor shots of the front of the house using the steps we give you below are all keys to success. If you have a friend or two that have a home you can shoot, that’s even better! Get two or three houses under your belt and that will make for less surprises when you are doing the real thing.
Now that you have a photography portfolio for real estate, create a Yelp, Google and Facebook business account. Make everything very easy to read, load only the best pictures and maybe even send your link to a few local realtors just to get the ball rolling. Always be honest about your work and experience but also let your portfolio do the talking for you. Real Estate photographers are notorious for showing up late or not showing at all, so just being a new face that will actually show up on time might be enough to get your foot in the door!
Someone contacted me to work for them, what do I do? How much do I charge?

Very simply, be professional. If they contacted you, then they must be willing to hire you for the right price. Flat rates are always going to be your friend because anyone hiring you knows exactly how much it will cost, even if you are a little slow on the job. The actual amount is dependent on your area, but most freelance photographers are in the ballpark of $100 per hour. Most homes can easily be photographed in an hour.
Make sure to limit the area you will serve so you aren’t burning $30 in case just to earn $100 and you can easily turn a profit. Remember that you are going to have to edit these pictures too! Many photographers will base their cost on the size of the home. For Seven11, we would charge $150.00 for anything under $1500 sq ft., $200 for up to 3000 sq. ft. and $250 above that. These numbers are based on our competitive market, the lack of good photographers in our area, our vast experience, and the fact that we may share the listing on our large social media platforms like Instagram.
The key for you is to figure out what local photographers are charging, if the demand is high, how far you are willing to travel and how many appointments you want (and on what days). If you have a massive, demanding market with few photographers you may want to charge more for your time. Or you may want to charge less because you can hit five houses a day all in the same area. It just depends, but figure that part out before anyone gives you a call.
Some realtors may want a freebee to check your skills so you may want to really give this serious consideration. Experience is golden and a recommendation from a known realtor is priceless. But if demand for photographers is high enough, why give it away when you are their only option! Photography for real estate is a business, just remember to treat it like one.
Example of what I tell potential agents when they call:
“We charge a flat rate based on the size of the home (give them rates). Our flat rate includes photos inside and out with special attention to the key areas, Kitchen, master, master bath, and living room. All photos are professionally edited and high resolution JPGs are provided to you within 24 hours via a OneDrive link where we keep them available for download for 30 days. After that, we are happy to provide them by email if needed. All photographers abide by current CDC COVID guidelines and are more than happy to take additional photos of any special features of the home you want to showcase. If you are interested, I have appointments available as early as (next open slot).”
First Gig is booked, now what?
First off, once you have the address do a little research. Many times, a home has already had pictures taken and can give you a better idea of what is in store for your shoot. You can see what the prior photographer (or realtor) did right and wrong so you can provide something better than before. Until you have the experience, it’s always best to get prepared.
Once you show up at the home, whether you start inside or outside will depend on the time of day. If you can shoot during the golden hour or on a cloudy day, then start with the outside while the light is perfect and not clipping your highlights. If you have to shoot mid-day in the bright sun, bring some ND filters to help darken your images or a polarizing filter to kill the glare. Walk from one side of the house to the other to see where the most aesthetic angle may be. Sometimes a slight corner shot can really hide an ugly shed on the side or gives a little more depth perspective to the home.
Photography for Real Estate – Let the shoot begin!
Take a few pictures from each angle and make sure there aren’t any cars or trash cans in your shots. Always consider the buyer when taking pictures. No one wants to look at a junky house, so make sure it’s presentable. You can use a little wider aperture if you want, but the clearer your picture is the better, typically. Nice vibrant colors with crystal clear sharpness with the whole house in frame.

Be aware of features and try to capture those too! Does it have a nice long driveway? Big front yard? Big back yard? If so, walk to the edge so a buyer gets a feel of the extra space they will be getting with this home purchase. I normally use f/8 to f/11 for my outdoor shots, but you can try a few at f/4 or so if you want to test it out. But make sure you take a few safety pictures in the f/8-f/11 range, just in case.
Interior shooting
Now for the interior. My best recommendation is just to walk around for a quick moment and get a layout of the home. Turn on all the lights, make sure all the window shutters are open to let in light; brightness is key unless you want the gothic look. While on your walk-about, look for great angles, key features and focal points. Another benefits to walking around is now you know if there is any additional need for lighting or if something needs a little extra staging or cleaning up before you shoot. You might find yourself using a random lamp you found to help light up every room!

Now it’s time to start shooting. Start with a key area like a living room, kitchen or master. Since you know the best angles, now you want to take your shots around 4-5 ft from the floor and typically in a far corner so you can get as much in frame as possible. This is where having that wide angle lens comes in really handy! I again, typically use around f/8 because I know my lens and that is where it is most crisp.
If you are shooting the kitchen, make sure that your shooting height is higher than the bottom of the wall cabinets, no one wants to see the cabinet bottoms. Get beautifully clear shots here and the more the better! Kitchens sell homes. Make sure that the appliances are easy to see in several shots and showcase any special features like granite countertops and farm sinks, etc. If it’s an open kitchen, showcase that by shooting over the granite into the next room to give buyers an idea of how the home is laid out. Think like a buyer, what do you want to see in images.
Living rooms, dining rooms, and common space are more about showing scale. Find the best spot that showcases how furniture will fit and how comfortable the room will fit someone’s lifestyle. You can go nuts here, but only a couple of pictures will probably be used. The key with these rooms is that they aren’t cluttered and showcase the livability and special features of the room. Built-ins, fireplaces, vaulted or tray ceilings are all things that need to be part of the frame.
Shooting the private spaces
Bedrooms are sometimes the hardest to shoot but also the least important; with the exception of the master. With bedrooms, simply stand in the doorway or in a far corner and remember to capture at 4-5ft height. Just one or two pictures of these is totally fine. If there is a better angle to make the room feel more inviting, capture from there. If the closet is a walk-in, you might want to capture a picture from an angle that shows into the closet (as long as it isn’t full of junk!

Now the Master doesn’t require many pictures, but you really have to get a great image since many homebuyers are looking at the master as a key element of their purchase decision. Make sure you can get the scale of the master and, if applicable, showcase how much space there is on either side of the bed to show how easily a king size bed will fit. Look at your pictures and make sure the master doesn’t look cluttered, condensed, or “quaint.” This is the time to use that wide-angle lens to really frame the whole room from a good angle. Don’t be afraid to shoot in portrait orientation if you need to!
Bathrooms are not always the most glamourous of pictures, but there are a few rules to live by. As with any room, never allow yourself to get captured in a mirror. No one wants to see the photographer, it’s distracting and often, reflections can work to your advantage by bringing in light. Make sure the bathroom is well lit, toilet seat down, and often shower curtains pulled back to make it seem larger (unless the tub is dirty.)
Make sure you capture granite countertops, jacuzzi tubs, and glamour showers if applicable. Agents may publish multiple pictures of the master if there are enough features to really highlight it, so don’t be afraid to take one of the shower, one of the bathtub, and obviously several of the entire space. Small bathrooms really only need one picture with maybe a couple backups.
Lastly, outdoor living space!

Don’t forget sunrooms, porches, and other outdoor living spaces. Does it have a nice workshop? Take a couple. Realtors do not mind having a few extra pictures and often will suggest a few shots on features they want to highlight. They won’t go overboard, but they must do what is necessary to get interest and have buyers walk into the house. In today’s era, people are purchasing houses from across the country with nothing more than virtual tours and sometimes not even that much; so take pictures knowing that someone may buy this house just on your artistic images. Photography for real estate can go a long way!
Tips and tricks from Seven11
- It is the common practice to receive payment at the time you arrive at the shoot. So don’t be afraid to arrange payment prior to shooting, especially if this is your first time with this agent. Agents may eventually book you for multiple houses and pay you weekly, but that is a relationship you should build. Unless you want to be handing folks a contract before you conduct business, I would get payment ahead of time.
- Watch mirrors, reflective glass, and shining surfaces. These things reflect and no one wants to see your camera. This can also be edited out in post processing if you can’t help it.
- Always remove unsightly things that are in your frame. This includes trash cans, power tools, cars, etc. You want a clean and simple frame, the attention is on the house, not on what kind of car the realtor drives.
- Unless the garage is set up by a mechanic and has custom build shelves and specialty floors, don’t bother with the garage pictures. A garage is a place to store your car and most people will do little more than glance inside when doing a walkthrough.
- A tripod or monopod is a great option to ensure you are taking pictures at a set height every time. This will make every picture flow better and be more uniform. It will also stabilize your camera so you can use a slower shutter speed to brighten a room. Don’t take the risk of high ISO and coming out with tons of grain.
- Know your camera lens and shoot where you get the clearest and sharpest pictures. Most lenses peak around f/8 to f/11.
- Don’t use fisheye lenses, that’s just goofy.
- If there is a balcony or open staircase, take pictures from above down onto living space. This can often be very aesthetic and really showcases the openness and layout of rooms.
- Sometimes you are going to have to move things, clean up things, move some chairs on a porch to make the front of the house more appealing, grab a lamp to help with lighting in other rooms, and direct homeowners to get out of the frame. It’s all part of the job. I have even had a neighbor come over and ask questions. Get in, get out… time is money in real estate.
- Bring a business card and share it with the realtor, build relationships. You will get more jobs working well with one realtor then you will get with new shoots. Build relationships and trust to become the person they call for each new listing.
- Always be on time, always deliver as quickly as possible.
- Most importantly, be honest, have fun, enjoy what you do, and take back up pictures just in case some do not turn out. It happens. This is why you should always have backup batteries, a backup memory card and an extra lens or two. I would rather take a few pictures with my iphone that I could edit than come up empty handed after being paid for a job.
That’s a wrap!
There you have it and you are now prepared to get your first listing. It’s a great feeling to see a home get posted and know that you were the one that provided those pictures. Once you shoot, get straight home and start editing. Once you have one indoor and one outdoor shot edited, you should be able to use the same settings on all the other images and just make small adjustments based on the lighting and room size. So, you got this! You will do fantastic! Go with confidence that you know photography and this is no different than any other kind of shoot. Take your time and be happy to be there. If you have any questions or run into any issues, drop me a comment or email and I am happy to help any way I can.
Good luck and God bless on your new journey!
I am a conceptual fine arts photographer and author for Seven11. Together with my wife, Kathleen, we pull inspiration from our photography to deliver messages of Christian encouragement to help others in their walk with Jesus. In addition to our writing, we also run a Christian podcast where we put “Christ in Focus.”As a separate mission, I author a photography blog to help new photographers develop their skills, learn tips and tricks, find reliable equipment, and I provide free mentorship. My goal is to prove to new photographers and models that they can pursue their dreams in fine art while staying true to their Christian values.
View all posts by Jon & Kathleen Frederick